
Springfree trampolines are some of the most reliable on the market, and their innovative safety design allows young and old users to enjoy bouncing safely. If you want to ready your trampoline for storage or transportation, you need to disassemble it. Disassembling a Springfree is an easy process that doesn’t require any power tools or special skills – so no worries if you have never taken apart such a large item before. This blog post will run through all the important 6 steps on how to disassemble a Springfree trampoline quickly. Let’s get started!
How to Disassemble a Springfree Trampoline?

1. Equipment and Preparation Required for Disassembling
It is essential to have the basics ready before attempting to disassemble a trampoline. If you need assistance, you may phone a friend or colleague, but no children, please. Books on how to safely use a trampoline are helpful for this purpose. If you want to finish the job on time, read the directions carefully and do exactly as they say.
Before disassembling the trampoline, clean it and figure out where you’ll keep the pieces. Likewise, you should disinfect the trampoline storage containers.
Disassembling a trampoline requires the use of specific tools and parts. When you buy a trampoline, you often get most of the accessories you need for it. Before dismantling the trampoline, go shopping for any missing people. Equipment for taking apart a trampoline consists of the following:
- Tools for removing springs
- Use a 10mm spanner or Phillips-head screwdriver.
- Mechanical screwdriver
- Hand protection gloves
2. Putting Off the Accesorries
You should start by dismantling the more flimsy components like the net, ladder, and any extras like tents, clubhouses, etc. The procedures are simple, in reality. For example, the trampoline net may be dismantled when the tent or clubhouse has been removed.
Detaching the poles from the net is simple if they are not welded to the frame. All the poles should be separated and laid down on the trampoline, while the net should be untied from the head of the poles.
For further security, it is recommended that you also lay down any netting that may have been connected to the trampoline’s base.
You should also unhook the basketball hoop if present. When you’re done unhooking the net, fold it up and store it away. A wrapping tape may be used to shield the poles from damage.
Remove the ties holding the ladder together and store the pieces in the provided container. Remember to wipe it off and remove any built-up rust or dirt. You may use any rust cleaner on the market to eliminate the rust. A non-toxic, water-based alternative is what we recommend. You could have a hard time locating one, to begin with.
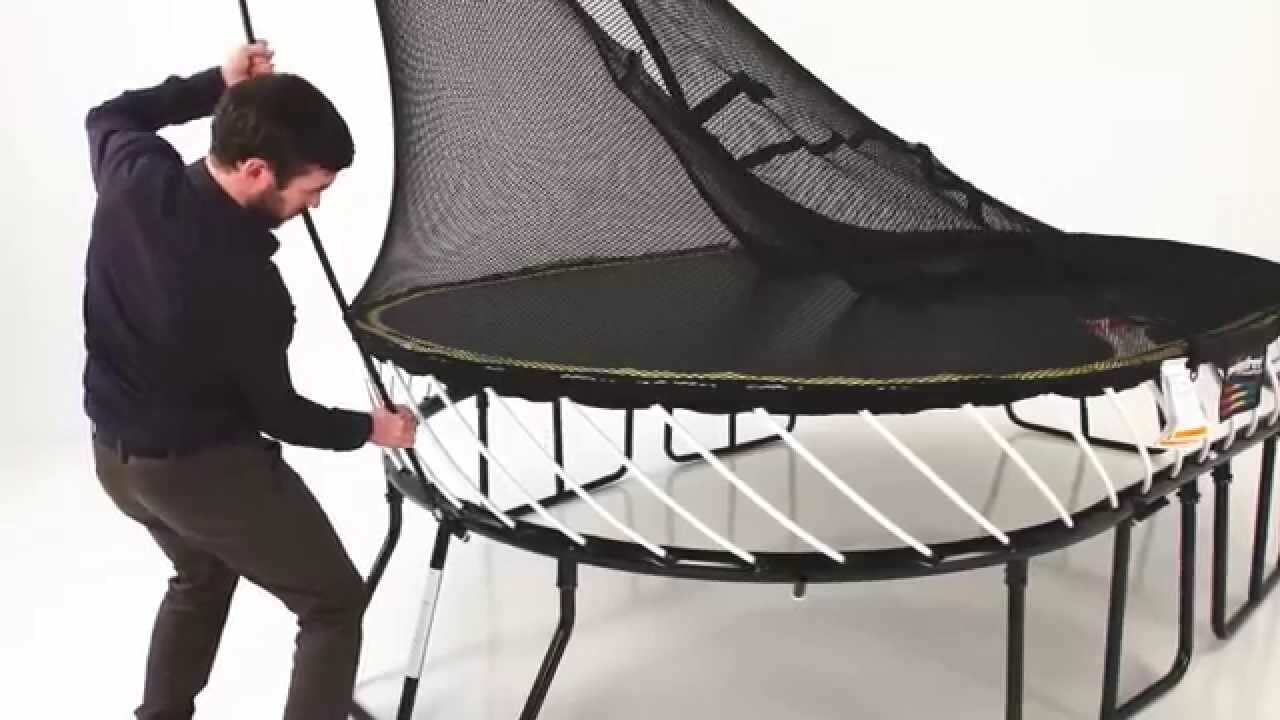
3. Separate the Protective Cover
You may take the safety pad off before or after you take down the net, whichever is most convenient for you. Most trampoline safety pads are made from a single piece of material and are thin enough to be readily removed.
Release the trampoline’s padding from its knots. Remember to put a piece of duct tape over any damage so you can fix it before next year. Tough knots might be untied with the aid of a key. When you’re through using the safety pad, fold it up, and store it in the box.
4. Disassembling Trampoline Springs
The springs section of trampoline assembly and disassembly is a common source of complaints from trampoline owners, yet many users still find the process enjoyable. Although dismantling trampoline springs requires additional effort, you can make the task much more manageable by familiarizing yourself with the proper procedure. Let us then study the removal of trampoline springs.
First, you should inspect the springs. The rust-proof and anti-corrosion properties of the springs make their removal a breeze. To be sure, removing corroded or damaged springs is a dangerous task. When dealing with this situation, you must wear hand gloves.
Select a spring to be the test subject for your spring removal tool and proceed. The mat end spring hook must then be pulled toward the centre of the trampoline. Next, disconnect the spring from the mat’s V-ring since it will be stretched. Finally, disassemble the second spring hook in the frame simultaneously.
Related: Can’t Get Springs on Trampoline? Try These 4 Alternatives
5. Rolling Up the Trampoline Mat
Once you take off the springs, all that’s left of your trampoline is the metal frame. The trampoline’s gorgeous jumping surface has been detached from it. The mat must now be folded neatly for storage.
First, lay the mat flat on the ground and straighten it out. The trampoline should be folded in half first. Next, fold it in half, then in half again, and so on, until it fits in the box. Before putting the mat away, inspect it for tears and wear. Any damage to the mat must be fixed before it can be removed.
6. Breaking Down The Base
If you know how to put up a trampoline, you will also learn how to take it apart. Unscrewing, unscrewing, and more unscrewing is what you need to do here. Here, a Phillips head screwdriver is your best friend. Remove the screws more quickly by using a power drill.
Once the screws are all out, the legs may be detached from the outer perimeter. Take caution since heavy legs falling on your feet might cause serious injury if you’re not careful. To separate the legs without being hurt, stand in the centre and push up on the outer ring.
Once all the legs have been removed, the outer ring may be taken apart. Next, separate the outer ring’s T-joints from one another. Next, turn the rings to do this. At long last, you can split the outermost rings and T-joints. Then, place the outer rings, the legs, and the T-sections in the trampoline’s storage box.
Conclusion
There are situations in which you’ll need to take apart your Springfree trampoline. We hope that our 6-step guide will make things easier for you. It will prevent your trampoline from deteriorating and may help you save money. However, take caution not to hurt yourself with trampoline parts, particularly the springs and the frames.